
A quintessentially Canadian dessert – cake bursting with maple flavour. This is a super-special recipe I’ve been wanting to share for a while, one that comes from my husband’s grandmother.

I never met my husband’s Oma, who passed away when he was 15, but I’ve heard many stories about what a remarkable lady she was. She was from Holland, and came to Canada as a war bride. She crossed the Atlantic with a toddler (my father-in-law’s oldest brother), landed at Pier 21, and went on to a new life in small-town Ontario.
This maple cake was her signature recipe – made for every birthday, holiday and sometimes just because! I find it significant that an immigrant is remembered for a recipe that’s so distinctly Canadian – to me it shows how much she embraced her new country. This might be the social studies teacher in me coming out – we are learning about immigrants and how they shaped Canada’s culture right now!

I had mentioned a few times that I’d love to have the recipe, and my mother –in-law wrapped a copy up with my Christmas presents this year! As soon as we got into maple season, I knew I had to make it. My husband was very excited for me to try it out, and I was a little nervous! I wanted to eat it, so I went with a dairy-free version.
Remember my rant a few months ago about how fall isn’t maple season? Early spring, with cold nights and warm days, is prime sugaring-off time. I bought maple syrup at the farmer’s market yesterday and the guy mentioned that they had just finished tapping trees for the year. That was the kick in the pants I needed to get my maple recipes up while they’re still seasonal!
You’ll need flour, baking powder, salt (the original recipe lists it as optional and I halved the amount, I’d probably use a full teaspoon if you’re using unsalted butter,) sugar, eggs, milk, shortening and butter or margarine. The original recipe does say butter/margarine, so I felt ok about substituting Earth Balance. Not sure what Oma would think of rice milk though! You can flavour the cake with real maple syrup, but maple extract will give a stronger maple flavour.

Make sure your butter, milk and eggs are all at room temperature (especially if you’re using non-dairy margarine, which I find clumps easily if you add cold milk or eggs)

Prep your pans first. You’ll need two 9-inch round cake pans. We’re going to line the bottoms with parchment, and grease and flour the sides.
Trace around them on parchment paper, then cut the circles out. Smear a little bit of shortening inside the pan, and pop the paper circles inside. The shortening will keep the parchment from sliding around, and the parchment will keep the cake from sticking. Rub the shortening all around the side of the pan (I use a paper towel), then spoon in a little bit of flour. Hold the pan vertically over the flour container and rotate it to get all the shortening covered with flour. Repeat with the other pan.

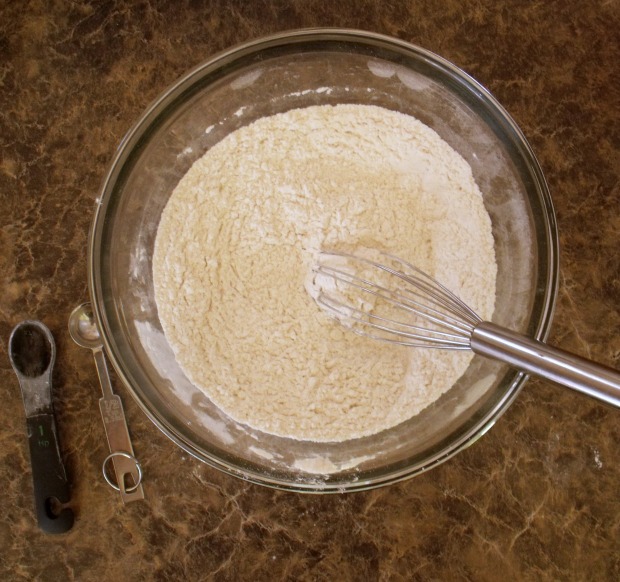
Whisk the flour, salt and baking powder together in a medium bowl.
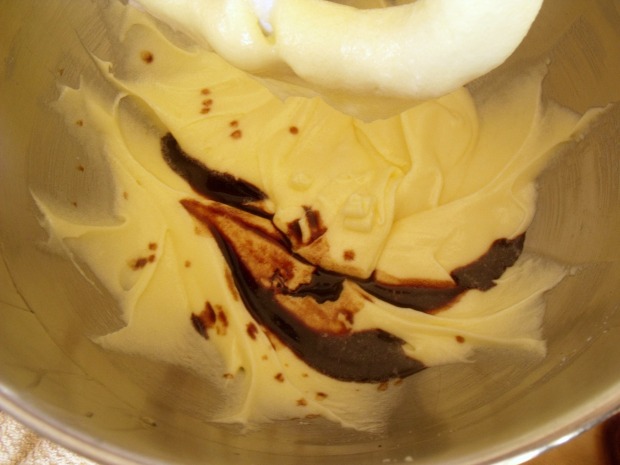
Cream the butter/margarine, shortening and sugar together until light and fluffy.

Beat in the eggs one at a time. Add the maple extract.
Beating on low speed, alternately add the flour and milk. I love my pouring shield – I make enough of a mess without worrying about flour dust storms!

Beat just until combined – don’t overbeat the batter!
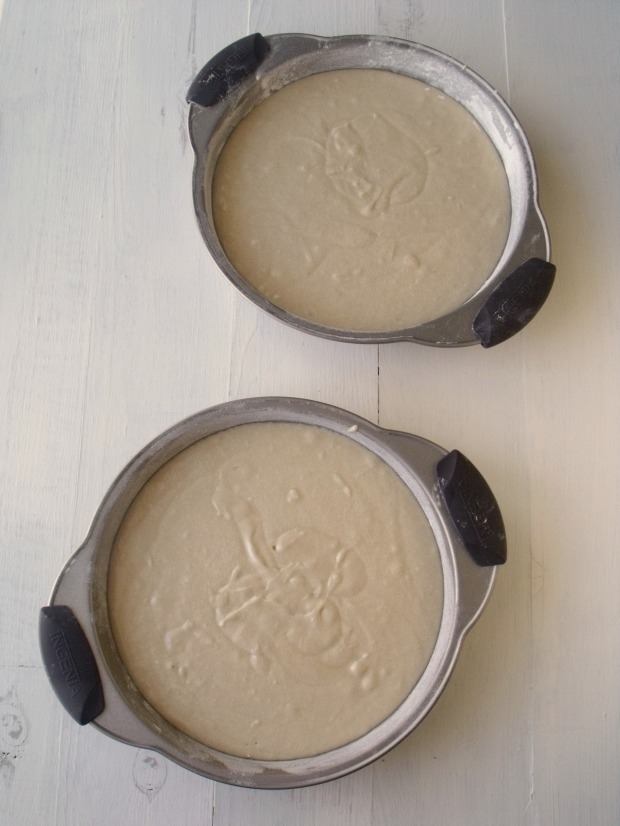
Divide the batter equally between the two prepared pans. Shake the pans gently to level the batter and pop them in the oven.
The recipe says 35 – 40 minutes but mine only took about 25. Once a toothpick comes out clean you’re good!
Let the cakes cool in the pans for 10 minutes.

Run a knife around the edges and turn the cakes out onto a rack to cool completely.

Now for the icing! You’ll need butter or margarine, icing sugar, milk (if you’re not dairy free, I’d go with cream!) and maple extract. Make sure that your butter is nice and soft and your milk isn’t ice cold.

With an electric mixer, beat the butter and half of the icing sugar until light and fluffy.

My butter was still on the chilly side, so it took a few minutes.

Add the milk and beat until combined.
Mix in the rest of the sugar and beat until the frosting is thick and creamy. You may need to add additional sugar to reach the desired consistency, especially if you used a thinner milk like skim or rice. I needed about another ½ cup. Beat in the maple extract – start with a teaspoon and taste test along the way!
I am far from the world’s best cake decorator, and I got distracted and forgot to take pictures! I followed Kate’s instructions here http://ourbestbites.com/2014/05/yellow-layer-cake/ (that’s an awesome cake recipe too!)

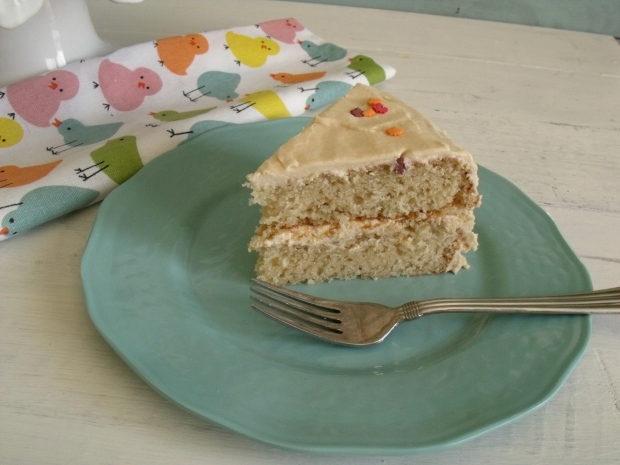
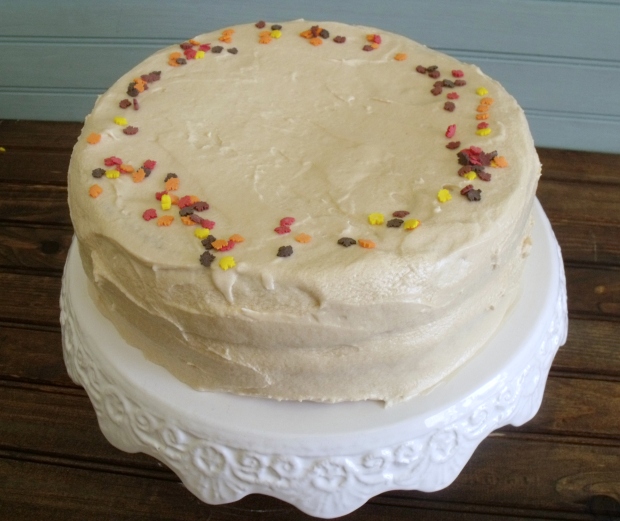
And here it is – Oma’s maple cake!

And the verdict – pretty darn close to Oma’s. I am proud!
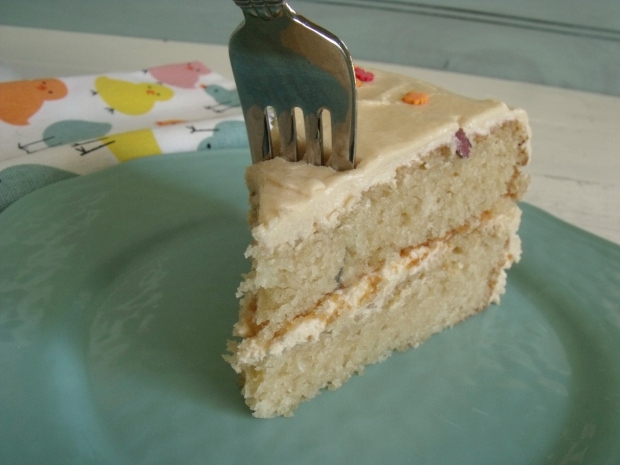
Apparently I committed sacrilege by putting sprinkles on the cake, but it just needed a little something to perk up the photos.
Conventional cake wisdom would suggest keeping the cake covered at room temperature and serving it the same day. My husband maintains that it’s better after a day or two in the fridge, once the flavours have intensified. I have to admit that it was pretty good on day two and three (there wasn’t any left by day four!)
I already have a request for a maple birthday cake (and his birthday isn’t until November!)
Oma’s Maple Cake
Ingredients:
Cake:
- 2 ½ cups all-purpose flour
- 3 teaspoons baking powder
- ½ teaspoon salt (1 teaspoon if using unsalted butter)
- 1 ½ cups granulated sugar
- ⅓ cup butter or margarine
- ⅓ cup shortening
- 3 eggs
- 1 tablespoon maple extract
- 1 ⅓ cups milk
Frosting:
- ½ cup butter or margarine
- 4 – 4 ½ cups sifted icing sugar
- ⅓ cup milk
- 1 – 2 teaspoons maple extract, or to taste
Directions:
Cake:
Preheat oven to 350°. Line the bottoms of two 9-inch round cake pans with parchment, and grease and flour the sides.
Whisk the flour, salt and baking powder together in a medium bowl. Cream the butter/margarine, shortening and sugar together until light and fluffy. Beat in the eggs one at a time, then beat in the maple extract. Beating on low speed, alternately add the flour and milk. Beat just until combined – don’t overbeat.
Divide the batter equally between the two prepared pans. Bake until a toothpick inserted in the centre comes out clean, anywhere from 25 to 40 minutes. Let the cakes cool in the pans for 10 minutes. Run a knife around the edges and turn the cakes out onto a rack to cool completely.
Frosting:
With an electric mixer, beat the butter and 2 cups of the icing sugar until light and fluffy. Add the milk and beat until combined.
Mix in the other two cups of the sugar and beat until the frosting is thick and creamy. Add additional sugar if needed to reach desired consistency. Beat in the maple extract.
Fill and frost cake as desired.

Reblogged this on Shallow Thinking.
LikeLike
I recognize that cake stand! Oh. Man, I don’t know why I haven’t tried to make a maple syrup cake before, this sounds DELICIOUS!
LikeLike
I figured you would recognize it! You can take credit for the backdrops too!
LikeLiked by 1 person
They look awesome in the photos! You found some awesome colours, I love that blue 🙂
LikeLike
I really don’t know why I haven’t tried baking with maple yet…it’s so good and so Canadian! And I love recipes passed down from generation to generation, they are the best. And what an awesome Christmas present 🙂
LikeLike
Family recipes are the best! So much fun to blog and tell the story. Maple is such a great flavour, I use it in a lot of stuff!
LikeLike
You had me at maple. Maple anything is the best. Looks like a great cake! Yum!
LikeLike
Oh, yum! I love allll of the maple things, so this is right up my alley!
LikeLike